Connecting
5. Water connection
Required time: 6 min.
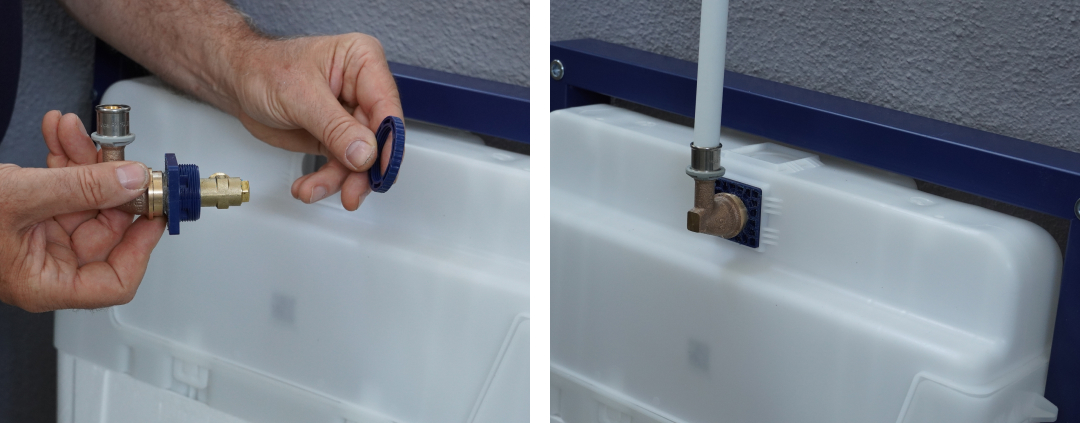
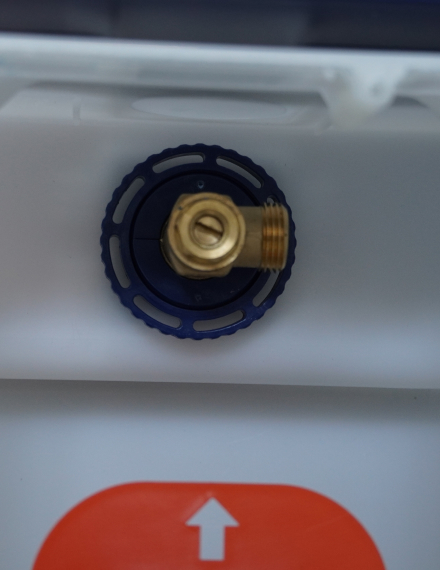
After the Rapid SLX is attached to the wall and floor, screw the angle valve into the water connection. This should be done before the angle valve is is connected to the cistern to ensure that the sealed thread can be screwed on tightly.

There are several options, to connect the angle valve to the cistern. The most common is shown in the picture. Other options can be found in the Technical Product Information (TPI). In the optimal position, the angle valve points to the right. To complete this step, connect the flexible hose at the front of the cistern to the angle valve.


