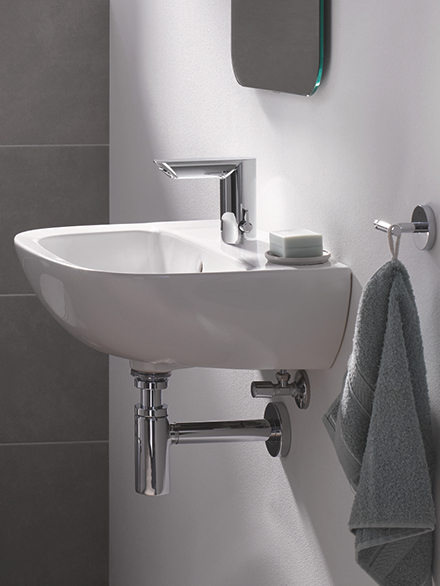
2. Installing the tap
Required time: 13 min.
1. Preparation
Turn off the water before you start the installation. In case of a renovation, remove the old tap. Make sure to clean the surfaces thoroughly before starting the installation.
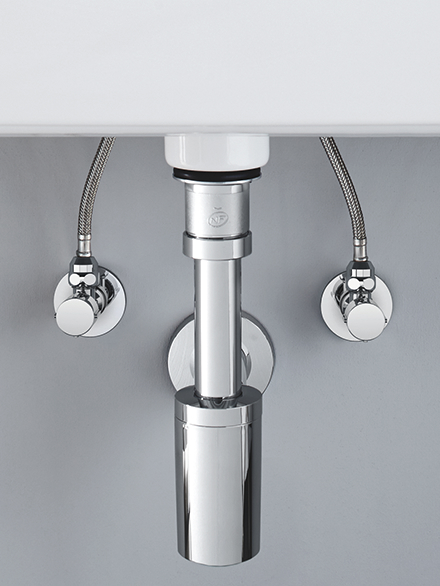
2. Check the position of the tap
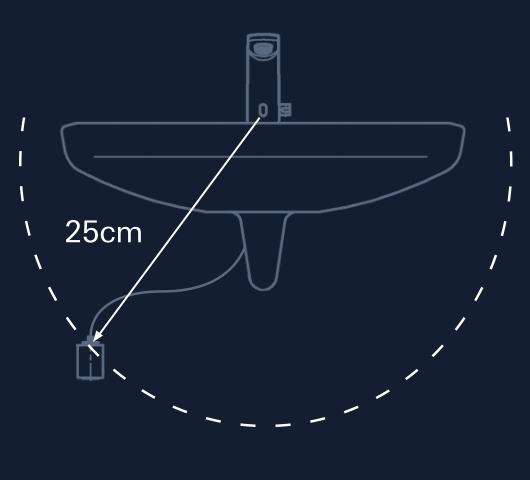
The maximum distance for the mount of a battery powered tap is approximately 25 cm. This applies to the model number 36451000 and 36452000.
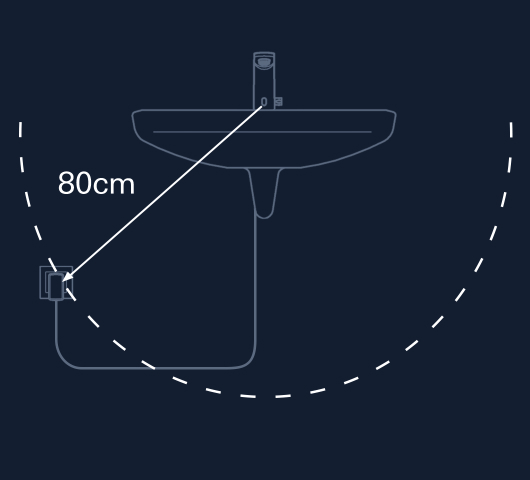
The maximum distance for the mount of an AC powered tap is approximately 80cm. This applies to the model number 36453000. 3m and 10m extention cables are available as an option.
3. Installing the tap
Go through these easy steps to install the tap.
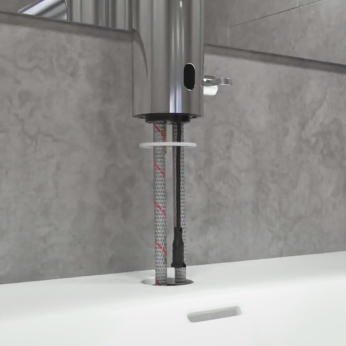
1. Slide the washer on to the shank and insert the tap through the sink opening.
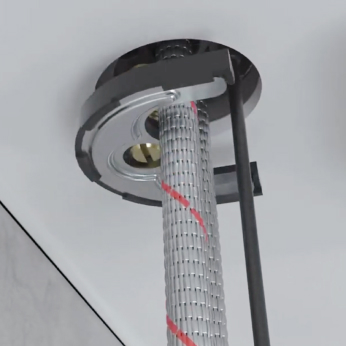
2. Slip the mounting hardware onto the shank with the hoses placed accordingly.
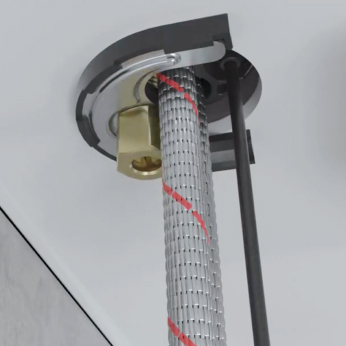
3. Tighten the lock nut.
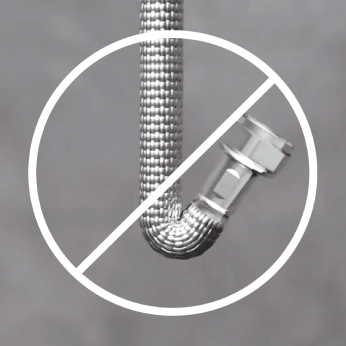
4. When attaching the inline hoses avoid stretching and sharp bends.
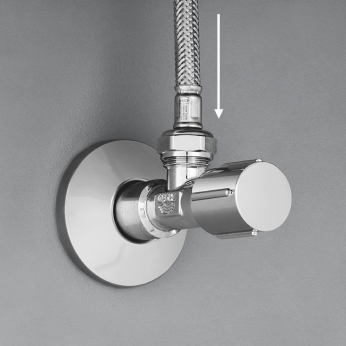
5. Connect the hoses to the valves. Hot water on the left, cold water on the right.
Tip: Do not forget to insert the gaskets.
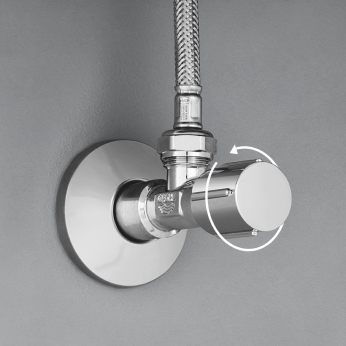
6. Open the hot and cold water supply and check that all connections are water tight.
4. Installing and attaching the battery power unit
If you are installing the model 36451000 or the model 36452000 then you have a battery power unit. Go through these easy steps to attach the power unit.
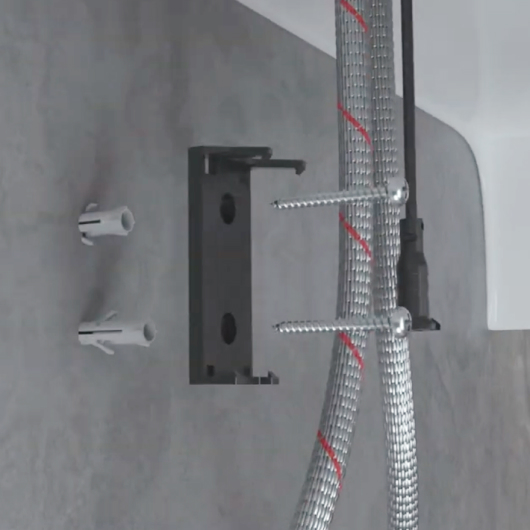
1. Install the battery mount onto the wall under the sink.
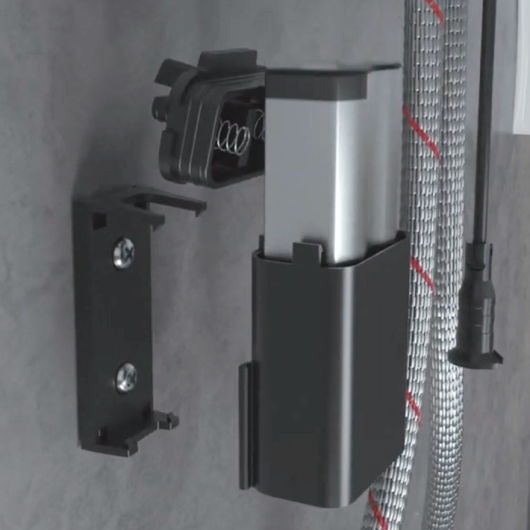
2. Insert the battery and close the cover. Note the right position of the cover.
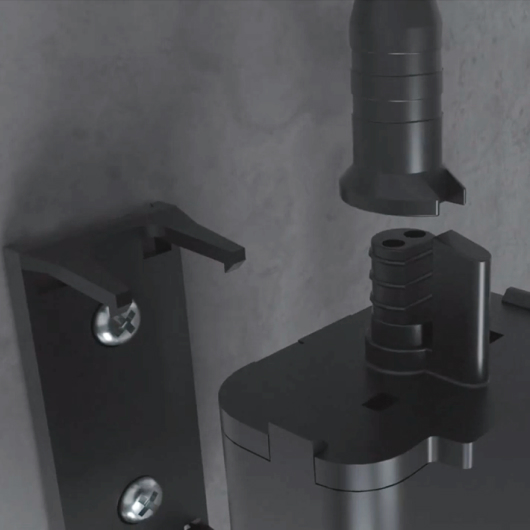
3. Connect the battery box with the connector from the faucet. Align the groove in the cable with the rib in the battery box.
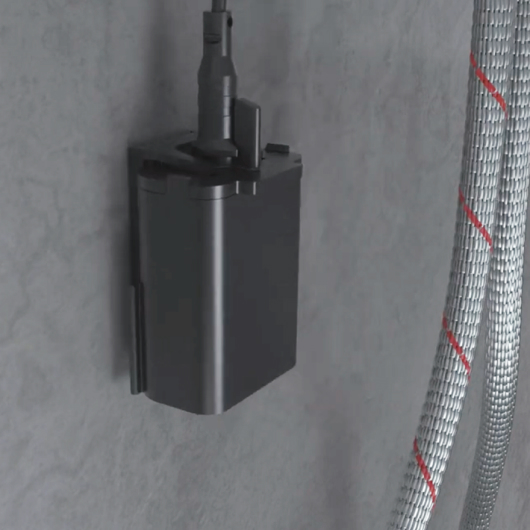
4. Mount the battery housing to the wall holder.
5. Installing and attaching the AC power unit
If you are installing the model 36469000 then you have an AC power unit. Go through these easy steps to attach the power unit. Check the video for visual reference.
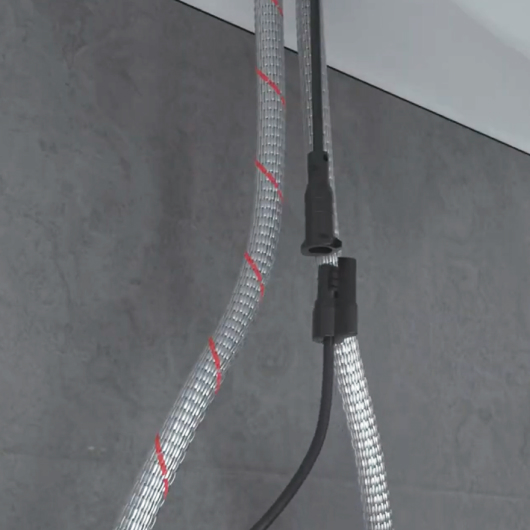
1. Connect the AC power cable to the receptor coming from the tap.
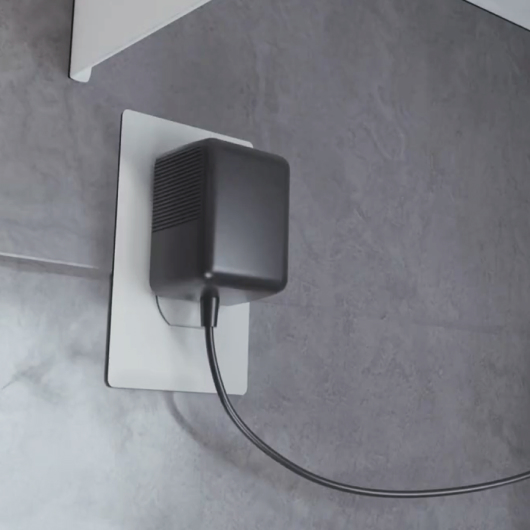
2. Connect the adapter to a power outlet.
6. Installation complete
You are now ready to use your new Bau Cosmopolitan E tap. Place your hand near the sensor field to operate.
