Grohe
4. Drilling & mounting on the wall
Mounting

4. Drilling & mounting on the wall

Required time: 6 min.

4. Drilling & mounting on the wall

Now drill the four holes with a 10 mm drill bit and insert dowels.
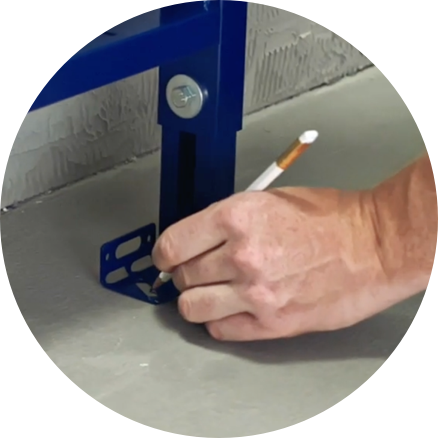
Tip

Tip

The three smaller pre-punched holes are used for wooden floors, which doesn’t require any drilling. In this case, the Rapid SLX is secured to the floor with two sets of three wood screws.

Place the installation frame and tighten the screws with a 13 mm spanner. Then secure the frame to the floor and wall and adjust the incline.
Loosen the safety clamps of the wall brackets and align the frame. Then secure the clamps again and adjust the wall brackets, so that the frame is perfectly vertical. Then just tighten the nuts and insert the plastic clips directly in front of the bracket as a locking mechanism.

Next: How do I connect the water supply?